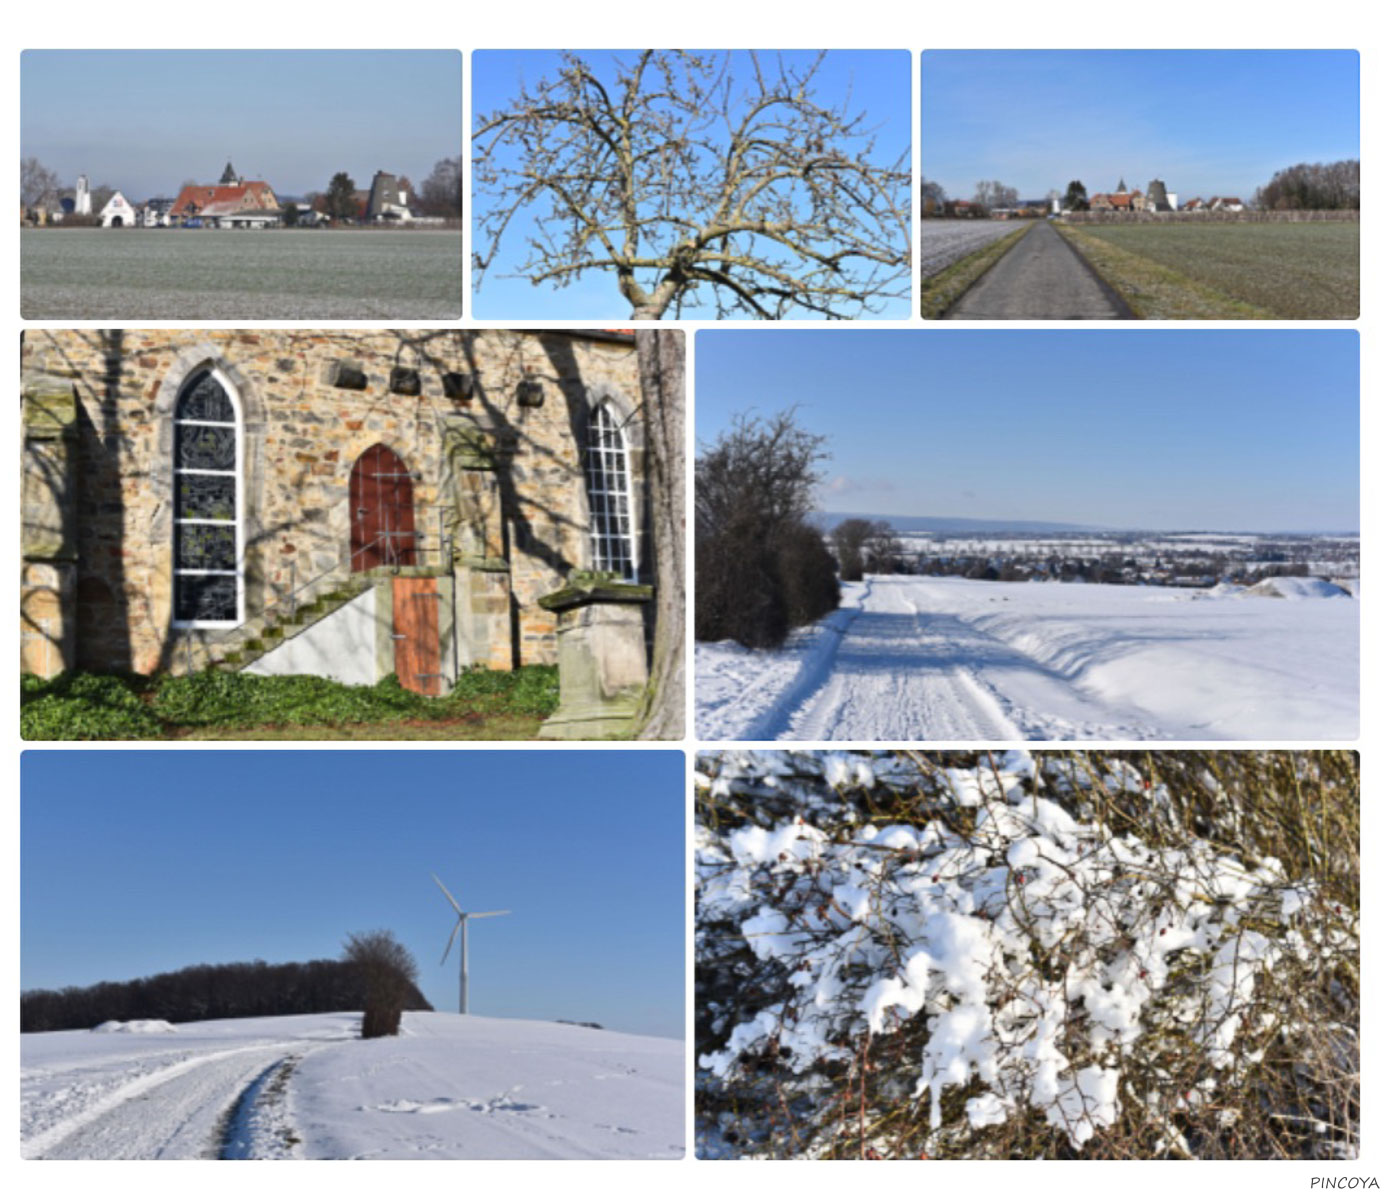
Without any question, this blog title sounds a bit strange for a sailing blog. But it’s more »special« than strange. Since we write blogs, we send blog content by email to our web page and the WordPress-plugin »Postie« processes the emails and publishes the content as blog. Writing blogs online with the tools available is already not much of a pleasure, but if you’re looking for tools to do the same offline, you can’t avoid the feeling of being thrown back in the last century. Therefore we love »Postie«. We can write a blog with a standard editor, copy the plain text in an email and drag and drop our photos in. That’s nearly »wysiwyg«, – which, by the way, was already invented in the last century ,- and can be done completely offline. You only have to follow a few small rules and conventions and after you’ve sent it via email, »Postie« puts your blog online. So far so good and really convenient and easy.
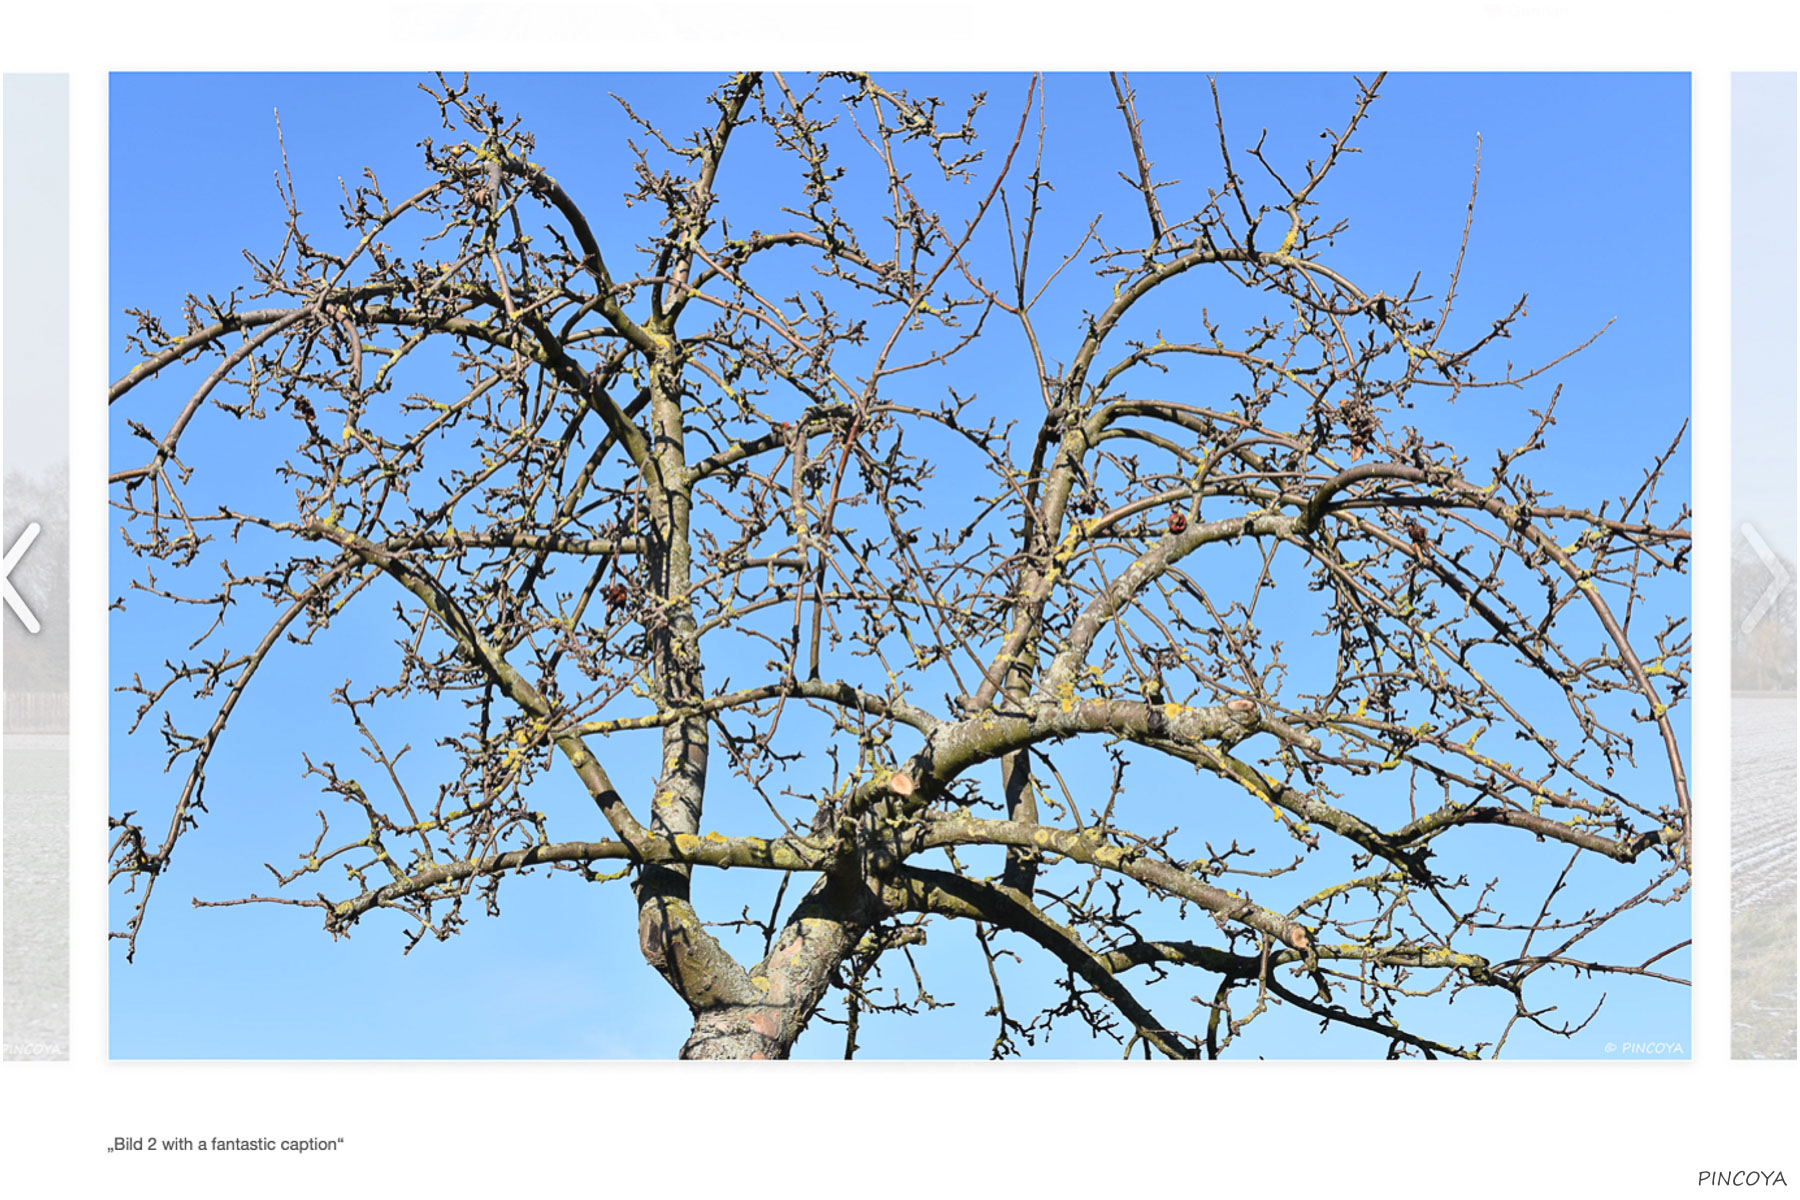
But all the time there was a little »but«. – But the photos. Basically the processing of photos were ok. There was a small image in the blog context and if you clicked this small image a bigger one opened. So far so good, but we always wanted a bit more. We never managed to persuade postie and wordpress to show a fullscreen picture after the click. And we always dreamed of a gallery. Yes, a picture gallery, a real picture gallery.
And now, not only because of the lockdown, we have found a solution. And because we’re so happy about that solution, we didn’t delete the last blog, which was supposed to be a test-blog only.
For days and weeks we surfed the internet to find something helpful. But we didn’t find anything detailed, only some general principles without a specific solution. So we tried a little bit and in the end it was surprisingly easy. And because we didn’t find any substantial references to this solution in the internet, we decided to give you a short description here.
Among other things, this is also the reason why this blog is written in English again. Because we’re pretty sure that the community of bloggers with a similar problem is more international than German.
Prerequisites that must be done in advance:
1.) WordPress-plugin »Postie« has to be set up and it has to work properly
2.) »Postie« has to be activated to make galleries from the photos, which are embedded in the email. See the flag »automatically insert image gallery = yes«
There are two ways for using galleries in WordPress. Use either the standard WordPress gallery or a plugin that creates an own gallery. »Postie« can only use the standard WordPress gallery. Up to now we found no way to persuade »Postie« to create a specific gallery of an installed gallery plugin. And to be honest, we think there is no way at all to make »Postie« to do so. So, »Postie« uses the standard WordPress gallery if the flag to make a gallery is activated.
So far so good. If your »Postie« works properly and the flag is activated, »Postie« will set up a standard WordPress gallery with all your photos attached to the email. The first step has been done, although it still doesn’t look the way you want it to look.
And now comes the key moment. 🥁🎺🎉 There are plugins that don’t create own galleries but modify the standard WordPress gallery. And that’s it. The plugin »Tiled Gallery Carousel Without JetPack« is exactly such a plugin.
In step 3.):
– install that plugin and activate it. There are a few more settings you can play with.
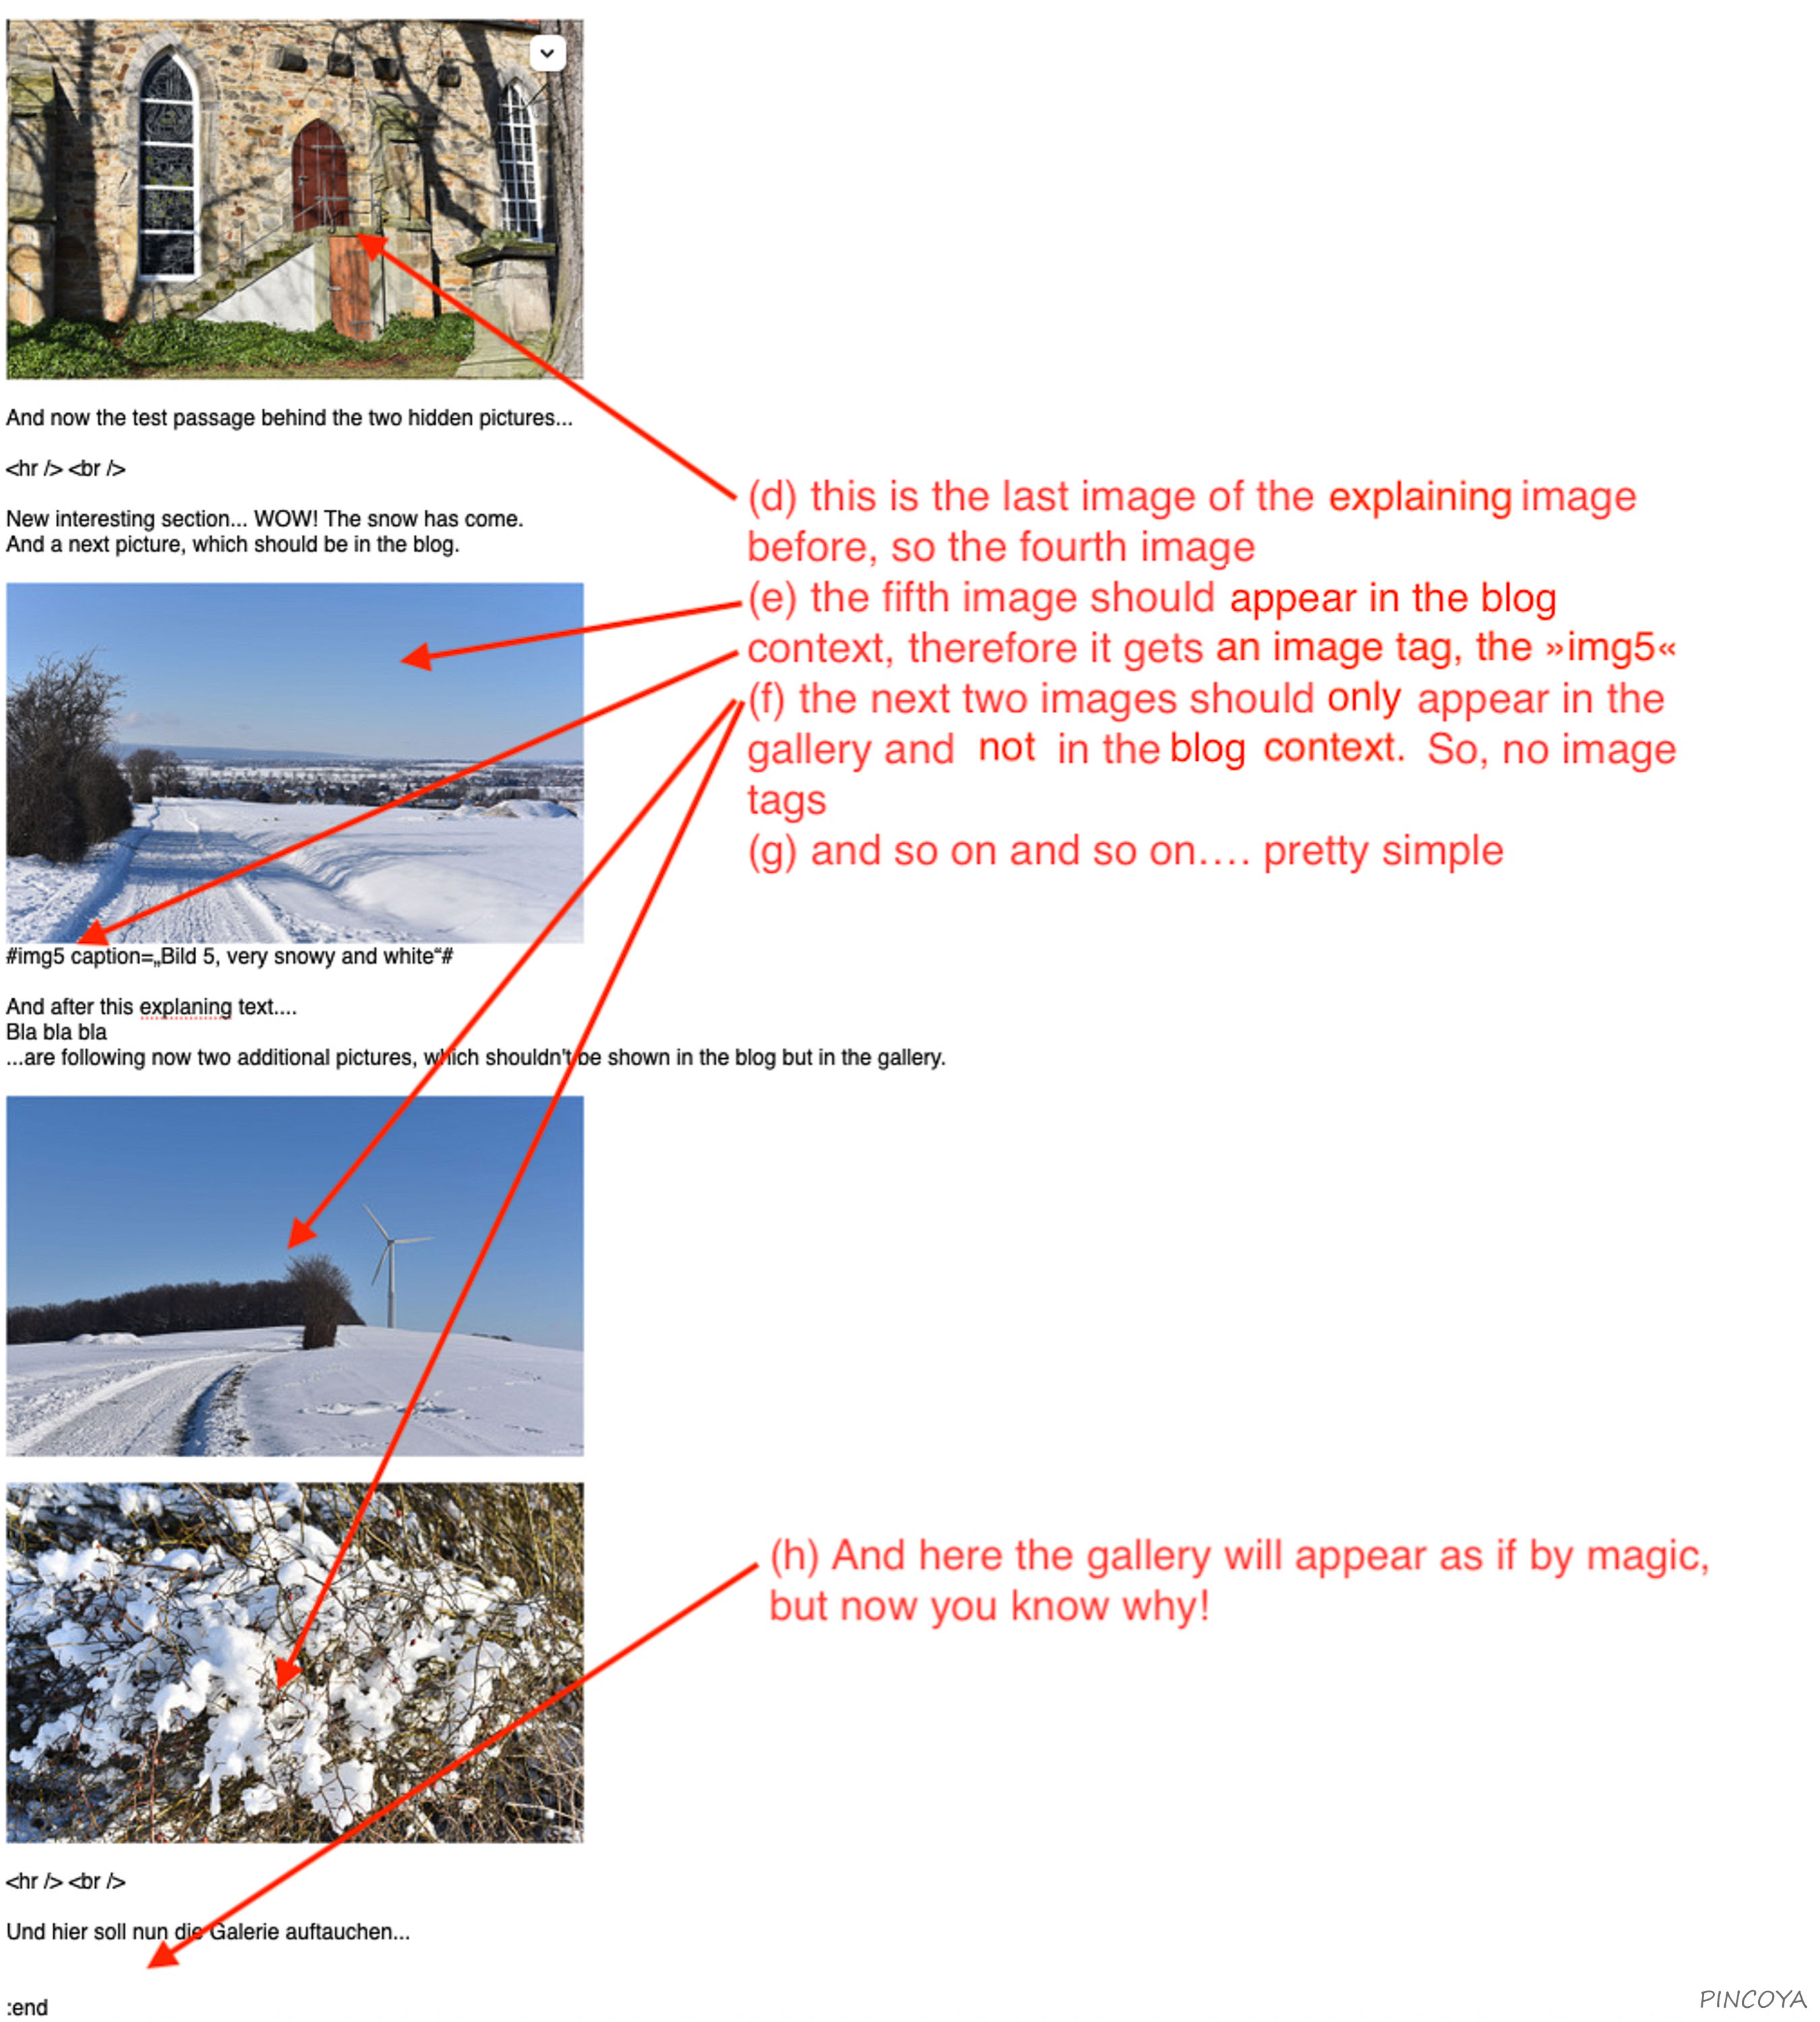
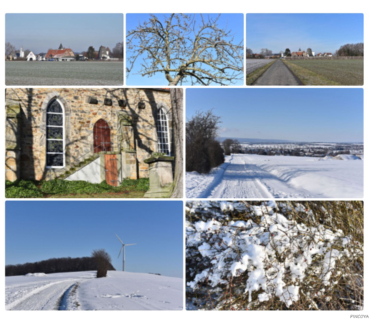
And now it’s just as we had wished for so long. »Postie« creates a gallery and due to the »Tiled Gallery Carousel Without JetPack«-plugin it becomes a proper »tiled gallery with a carousel«. Look in our »gallery test-blog« one day before. There you can see the result.
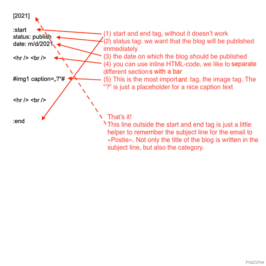
Here an example:
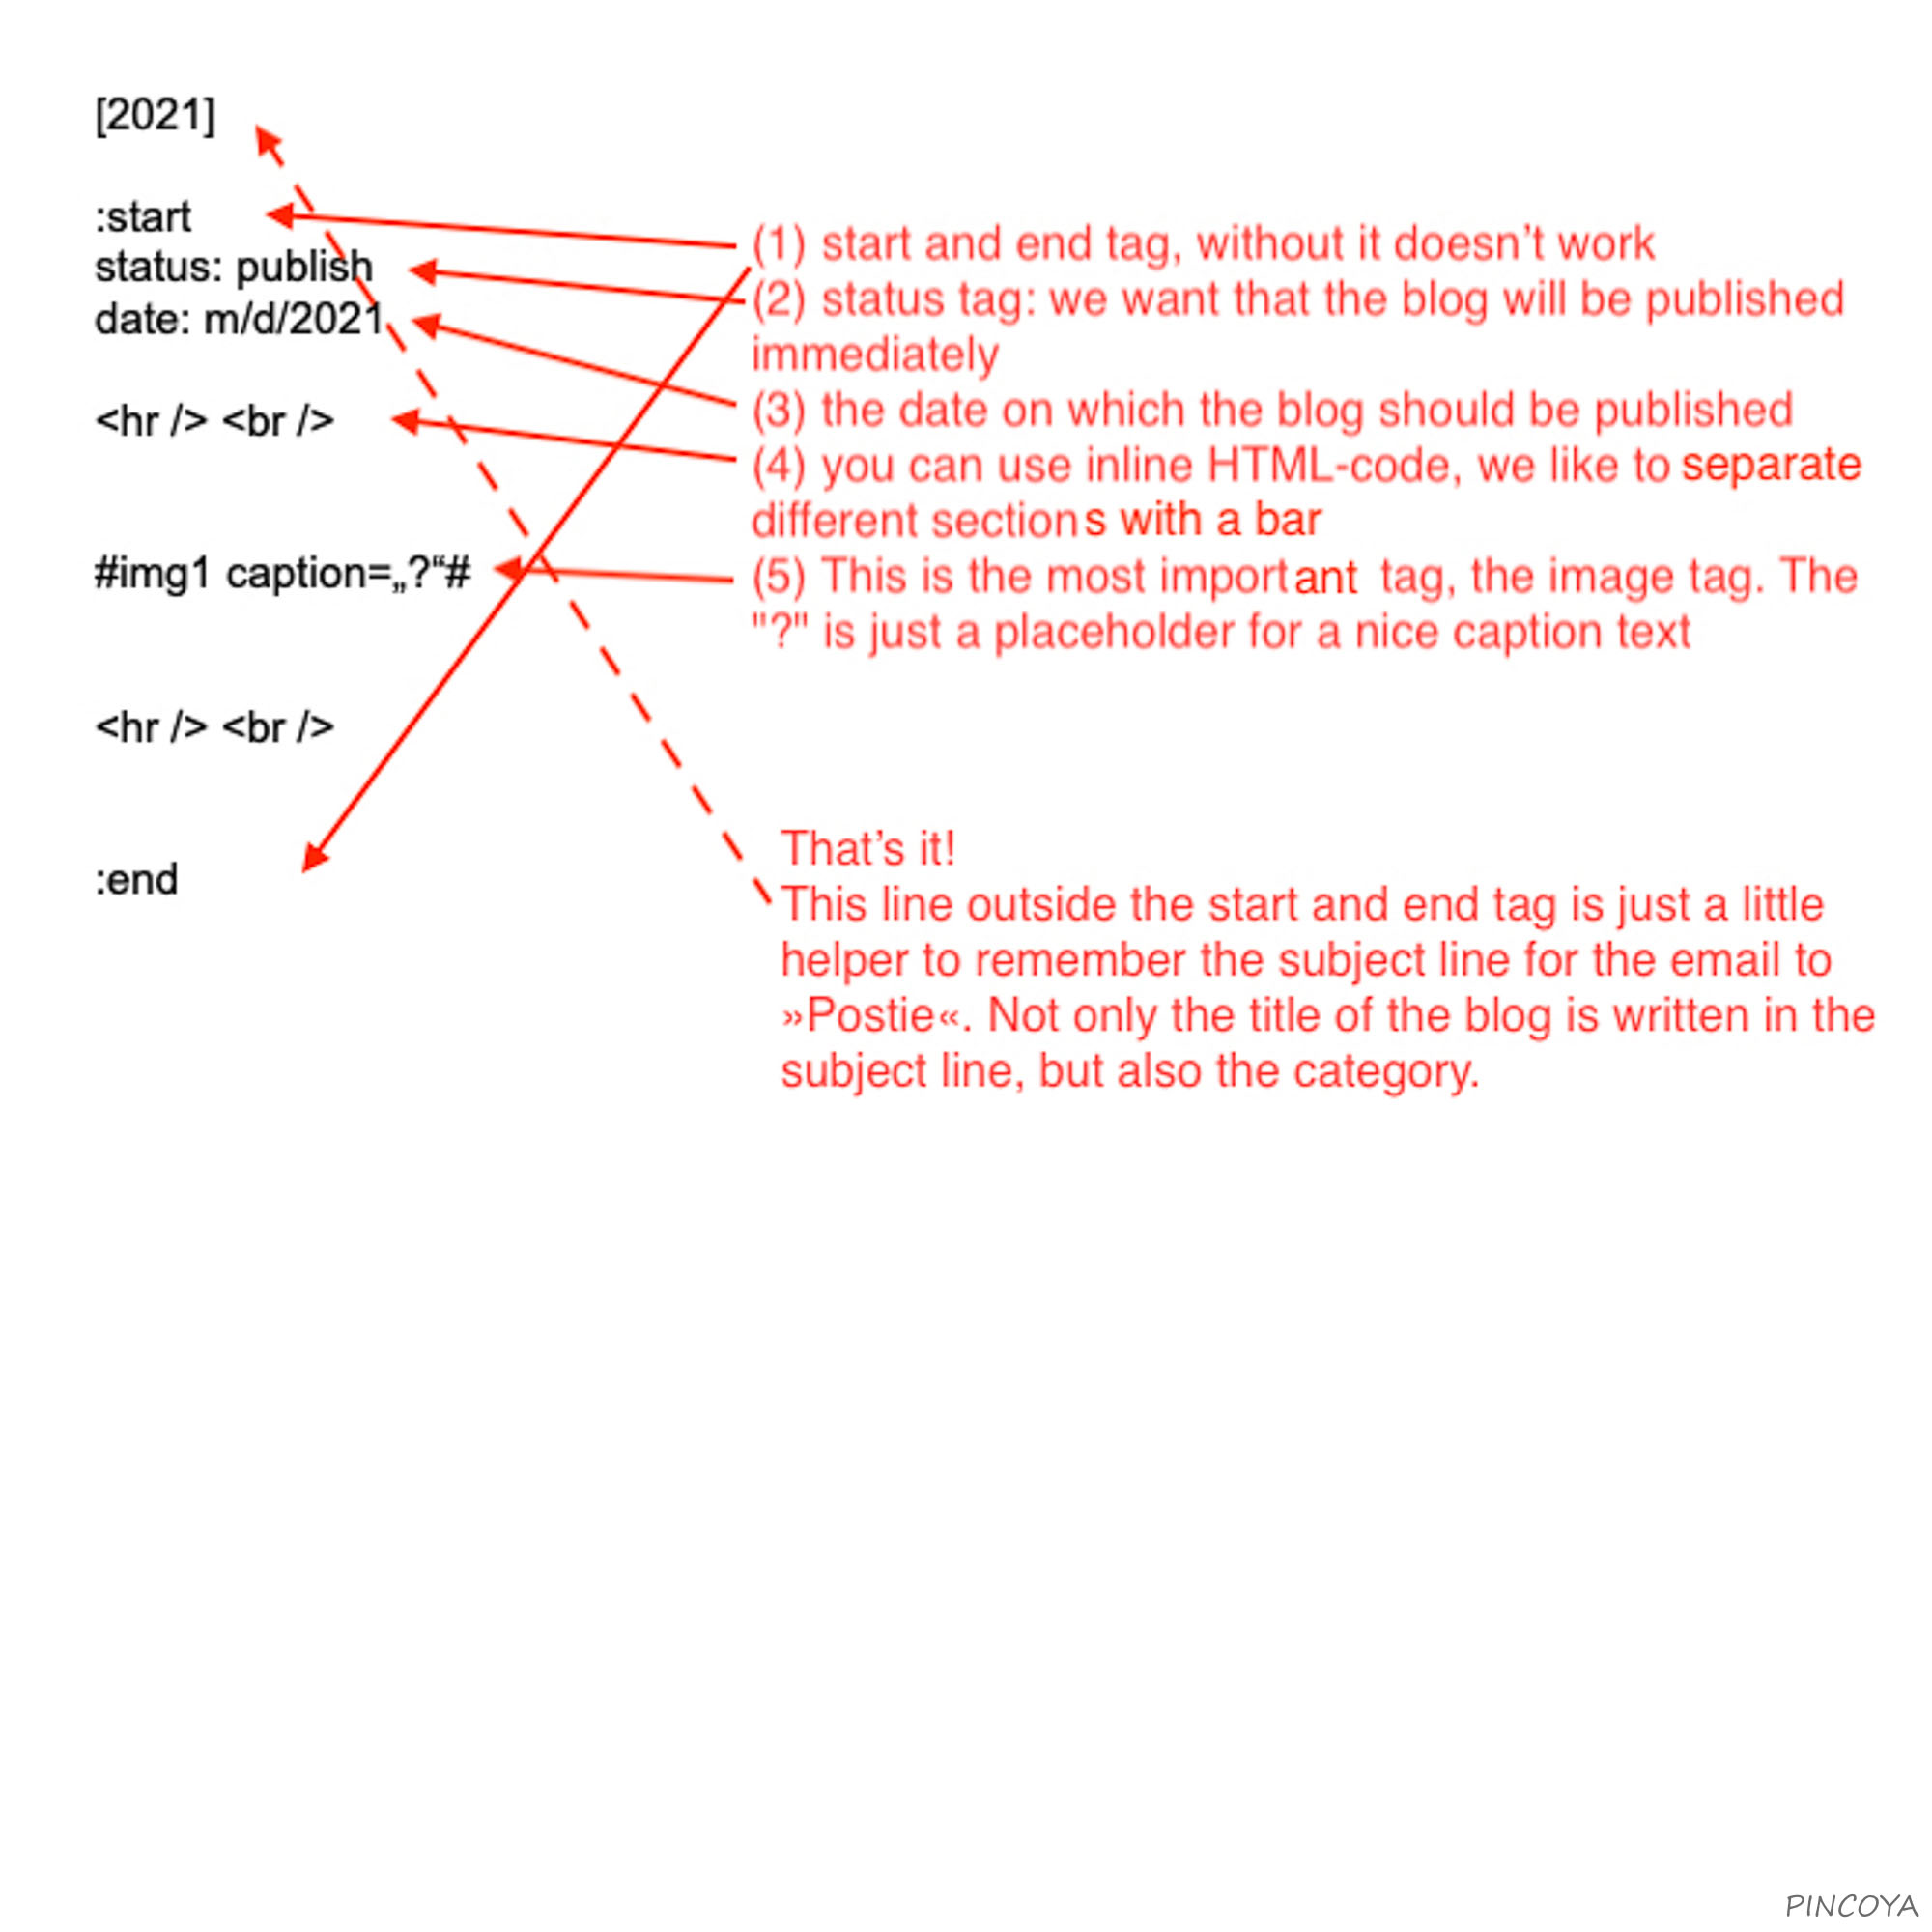
To write an email that complies to the rules of »Postie«, we created a little template for us. It’s just a simple text template. It doesn’t matter if you use it in an email editor or another text editor. It’s just a framework to remember the minimum necessary tags.
– First step:
You can write your blog text wherever you want, as long as you write plain text. No formatting at all, just simple ascii text. Not more, not less.
If you write your blog with a standard text editor, never ever insert the pictures in this document. Every text editor starts immediately to do some strange things regarding inserting, formatting and converting your pictures. But »Postie« needs plain text and nothing else.
– Second step:
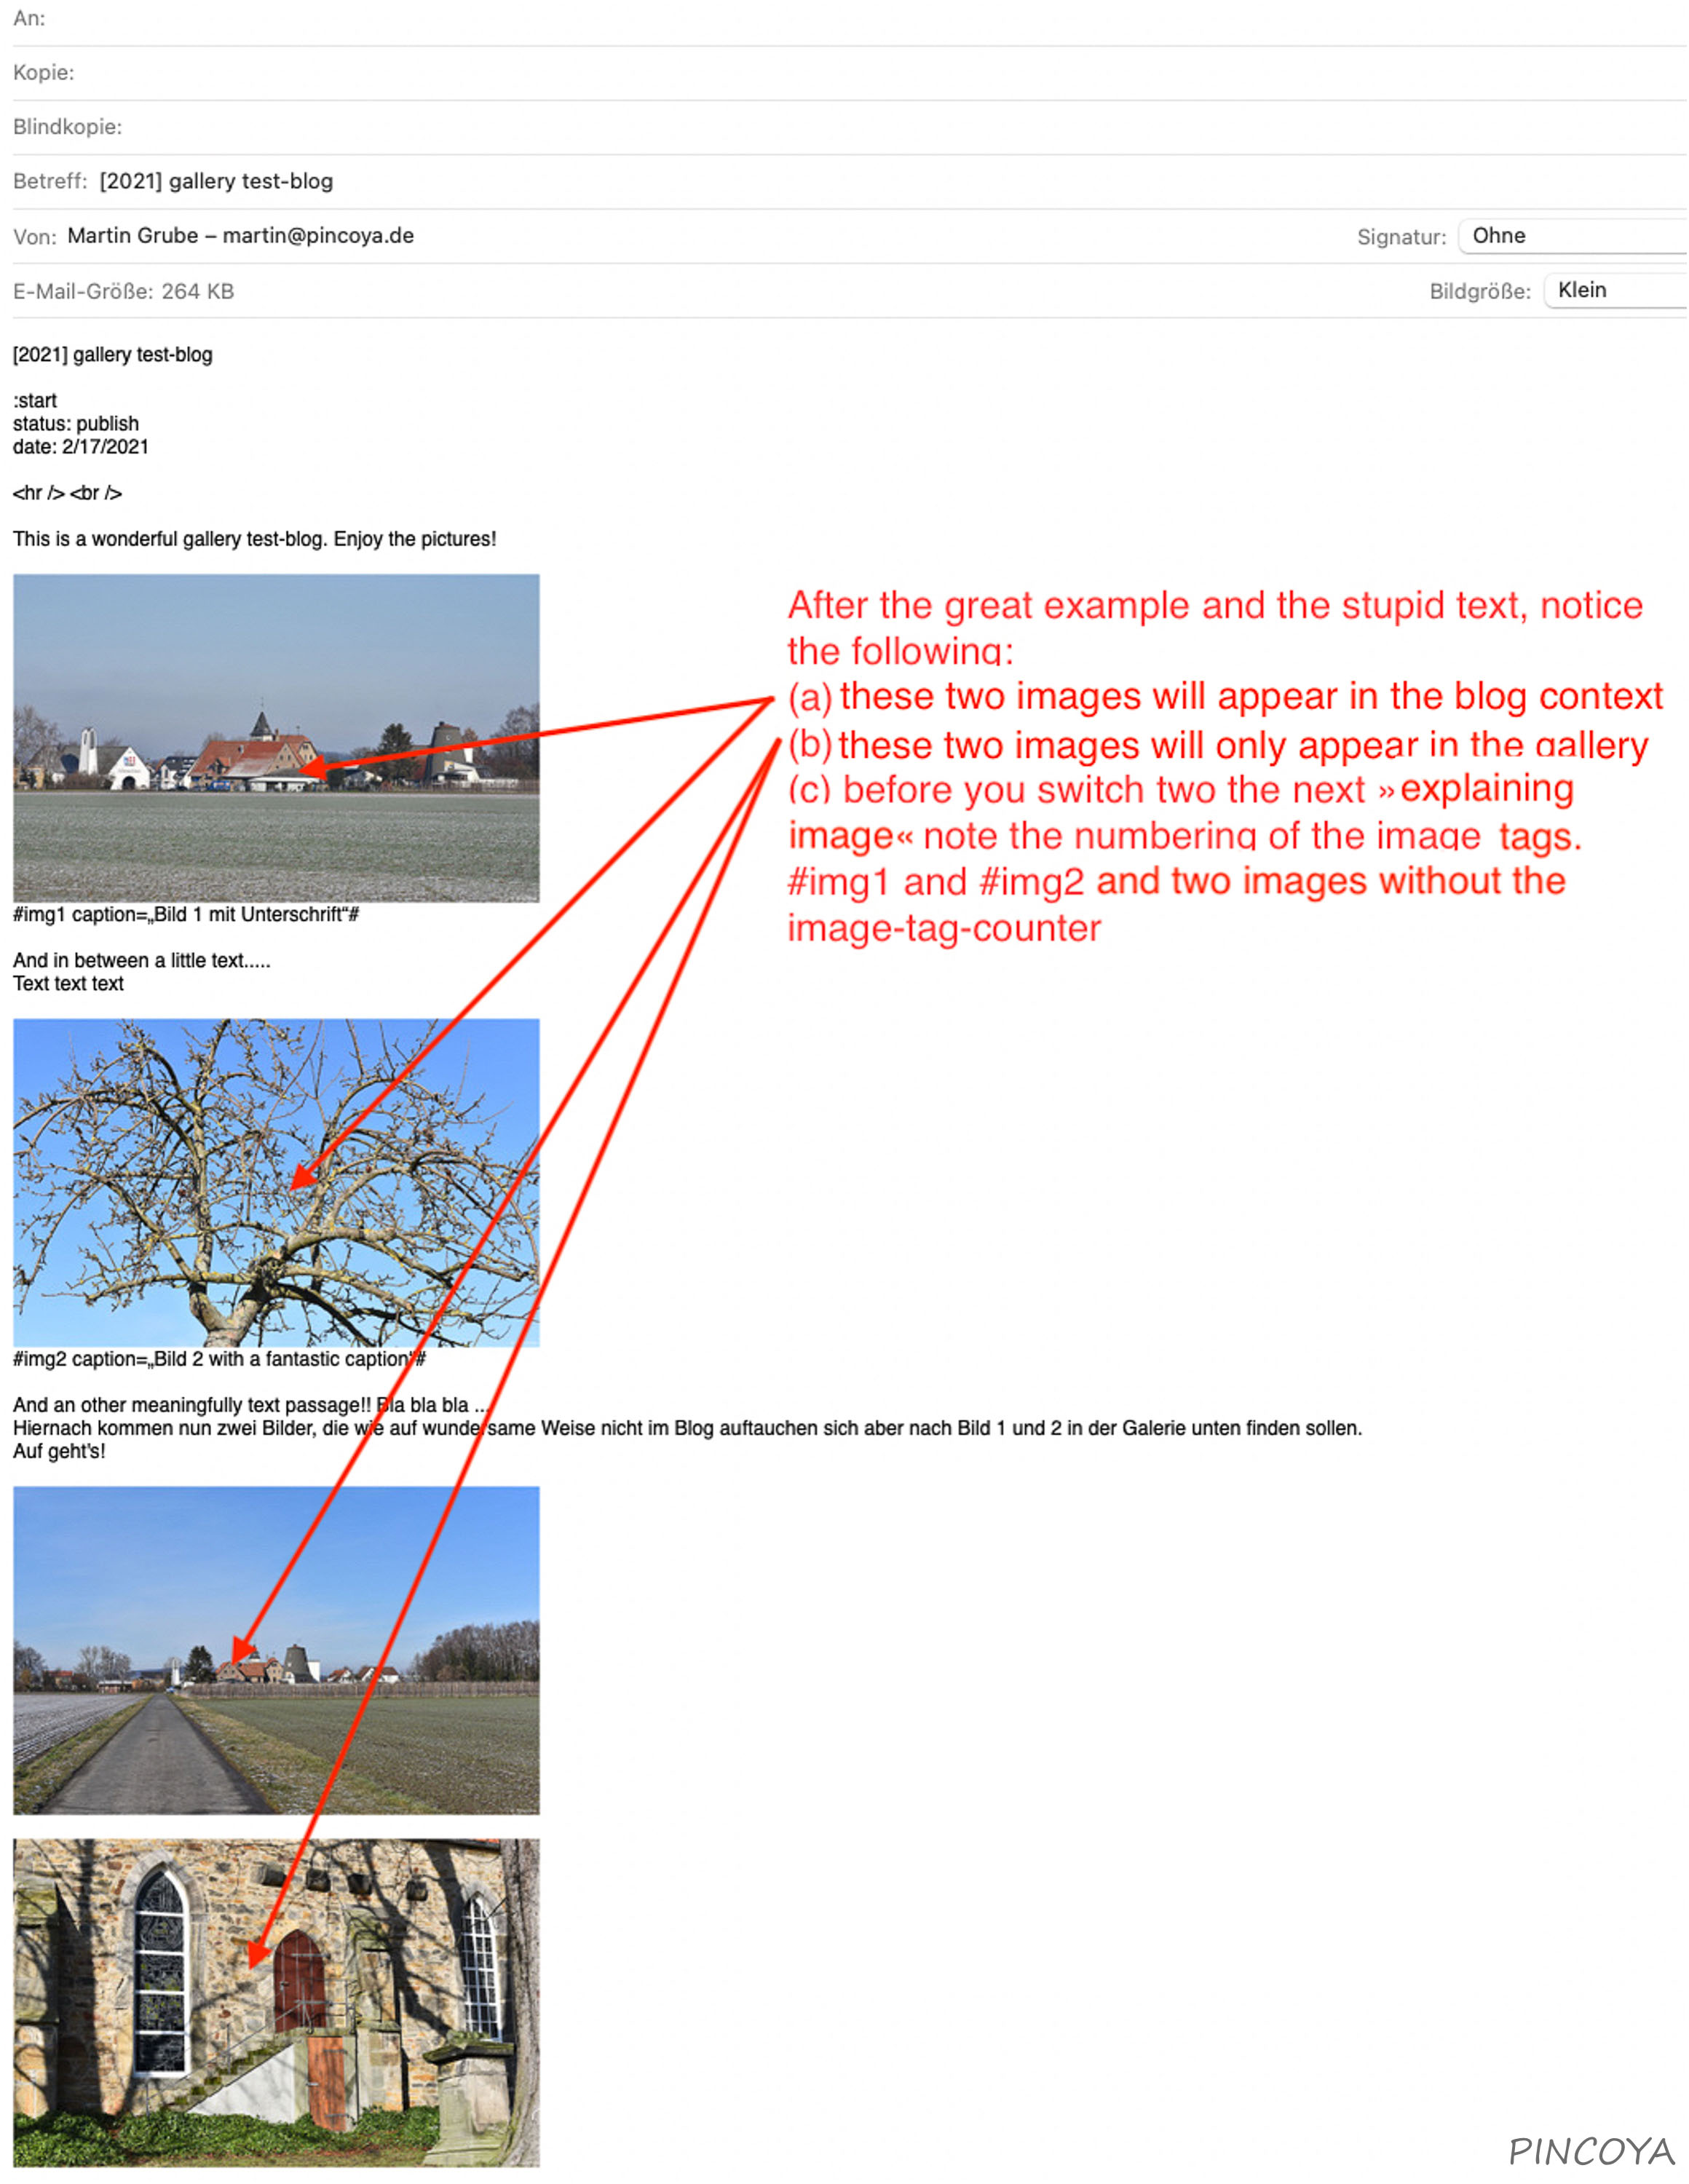
Create the email for »Postie«. Copy the plain text in the email body, copy the head line in the subject line and insert your images.
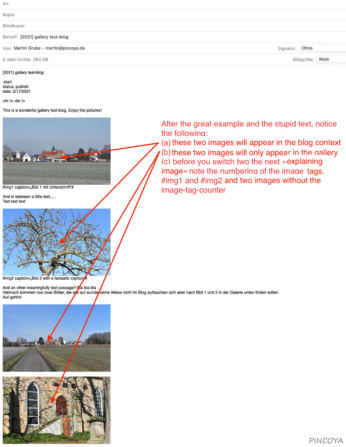
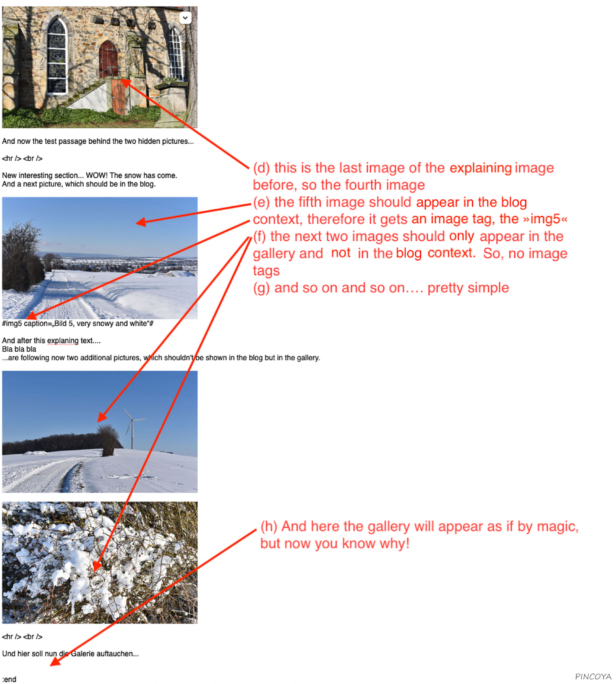
Look at the two screenshots of the example email, the inserted images and note two things:
(a) the pictures will appear in the gallery in that order you attach them to the email
(b) only the images with the image tag »img« will appear in the blog context. The other images are »just attached« and so to say “ready to appear” in the gallery together with all the other images, which are shown in the blog itself.
That’s it. No further steps are needed.

